How to clean terracotta tiles
About Terracotta
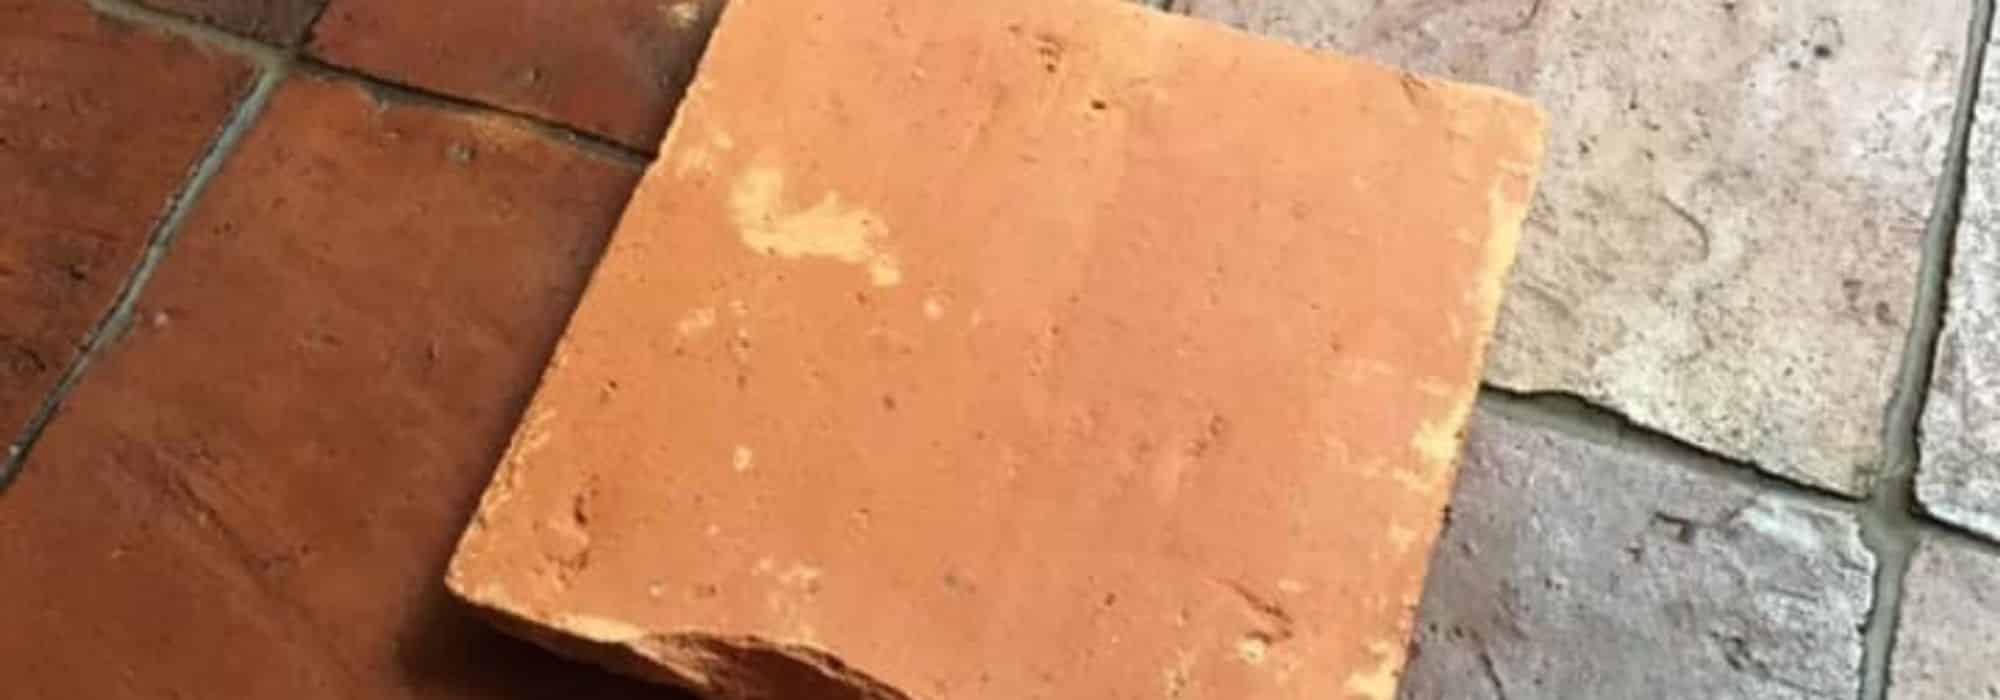
Terracotta is an excellent choice of tile for bringing those warm, earthy tones into your home. Comprised of red clay, this unglazed design option achieves a natural exotic atmosphere with its beautiful dry texture and fiery red colours. If ceramic pottery is just the style for you, please visit our terracotta floor tiles page to complete your home with a stunning surface.
Why do you need to clean terracotta?
Terracotta makes a fantastic floor tile option but you must always remember to maintain and protect the surface. Over time the material will be exposed to spillages and food residue which can exacerbate the development of mould. This will eventually induce stains and dilute the rich colours of your tiles. Unfortunately, cleaning Terracotta is not as simple as spraying its surface with water then calling it a day, it will also require an adequate sealer to prevent the persistence of stains from ruining your floor. But do not despair, as the process of washing and fortifying terracotta against water and grease is very straight forward, you will just need the right equipment before you get started.
Terracotta cleaning tools
If you are looking to both seal and clean your terracotta floor tiles then you will need the following;
- Disposable latex or rubber gloves
- A mop or sponge and bucket (fill with warm water)
- A scrub brush
- A vacuum cleaner
- Stain-proof sealer
- Masking tape
- Boiled Linseed oil (optional)
- Paintbrush or extended roller
Terracotta tiles – the cleaning method
Reminder: If your terracotta tiles have recently been installed then you should leave the surface to cure for at least 3 days. Keep the area vacant and free of foot-traffic during this time.
- Firstly, you will need to vacuum any existing dirt or dust from your floor before you can start applying your sealer, use your brush to scrub away any unclean corners or tight spaces.
- Apply the masking tape to any areas you do not wish the sealer to touch.
- Use either the mop or the sponge to apply the warm water with soap then dry before starting the next stage.
- This stage is optional if you are looking to achieve the perfect finish for your terracotta tiles. Brush your surface with the boiled linseed oil then leave for 20 minutes before brushing any of the residual substance. Wait a further eight hours before adding a second coat. With this option, you will need to use an oil-based sealer.
- Apply the stain proof sealer with your brush or extended roller, do not forget to wear latex or rubber gloves during this process. Your floors should typically be left for approximately 3 days afterwards to cure but if you are unsure, read the instructions on the sealer container. Remember to keep the area vacant during this time.
- After a thorough inspection, you should find that your tiles are now properly sealed. For further reassurance, you can test its resistance by adding water. If the tile absorbs the liquid then you will have to apply a generous second coat of sealer and prevent access to the floor for an additional 24 hours.
- Maintain your terracotta tiles.
How to maintain clean terracotta tiles
- Wipe any food or liquid spillages that will likely occur.
- Use soap with warm water and a sponge or mop to clean your floor tiles every week.
- Use the water test to assess the tiles’ resistance annually.
- Vacuum any dirt or dust that will eventually meet the surface.
- Try using neutral cleaners that are clay friendly.
- Avoid using sustains that may contain acid, vinegar or ammonia as this will compromise the sealer, the surface and the colour.
- Always dry the floor after washing.
When you shop for Terracotta tiles with Tiles and Mosaics, you can also find the perfect stain proof impregnating sealer for rejuvenating your floors and protecting them against oils, grime, food residue and stains exacerbated by mould.

