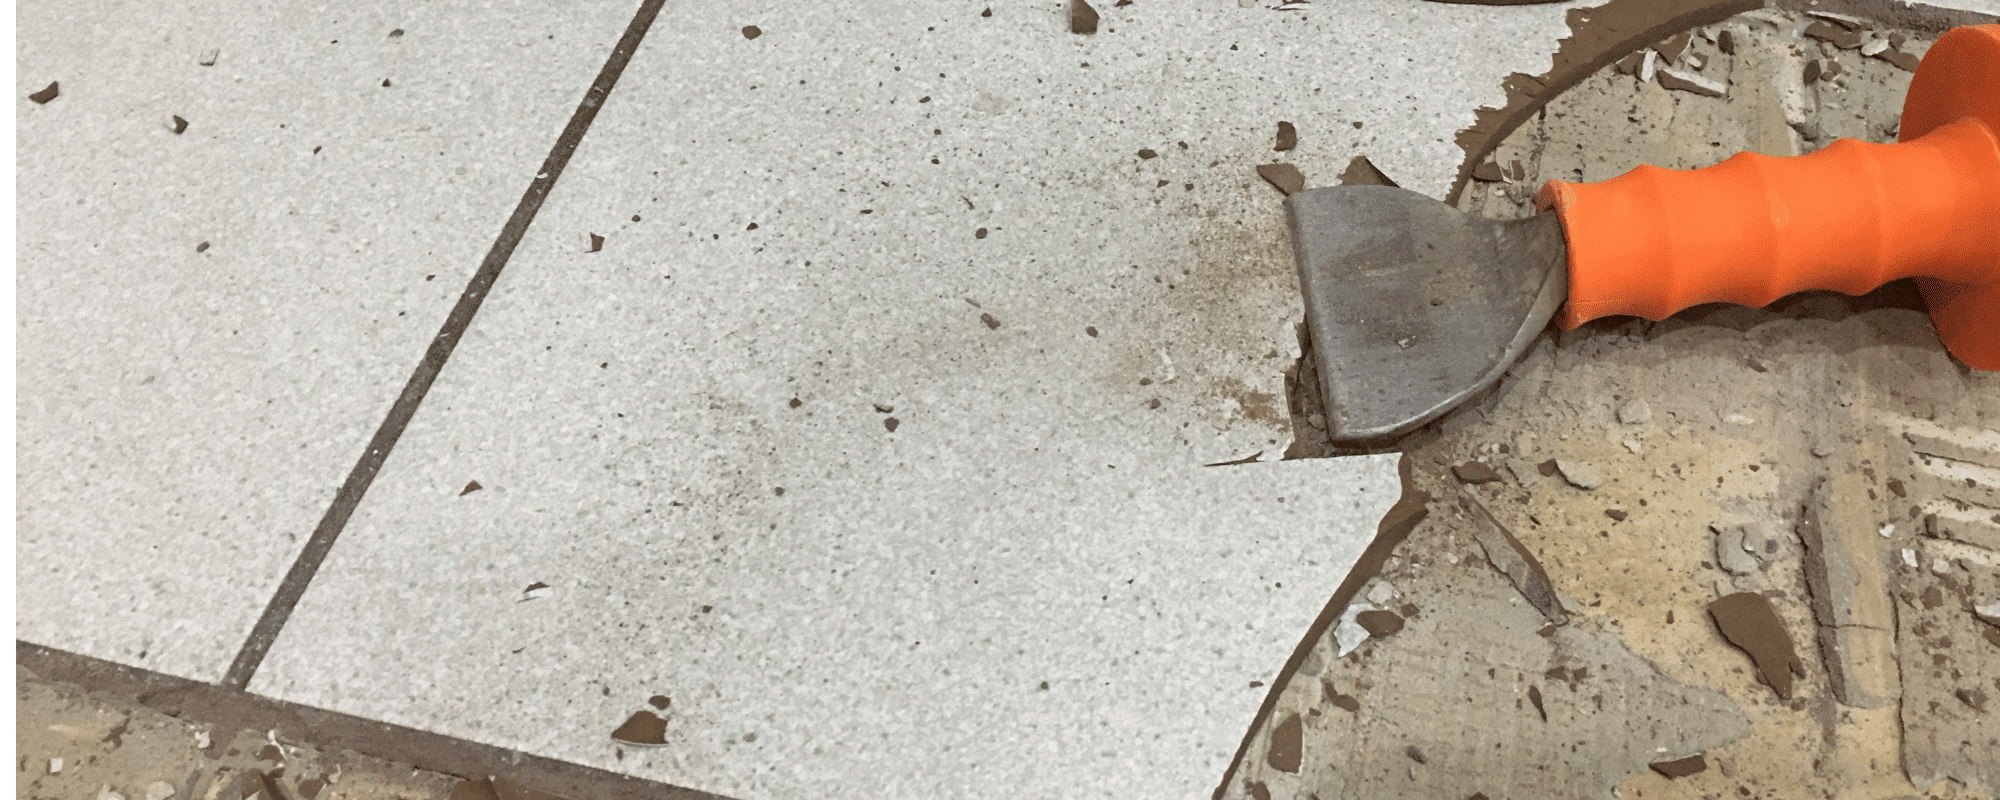
Removing old tiles can be a daunting task, but with the right tools and techniques, it’s a job that you can tackle yourself. Whether you’re renovating your kitchen, bathroom, or any other tiled area, here’s a step-by-step guide to help you through the process.
Gather Your Tools:
Before you begin, make sure you have all the necessary tools on hand. You’ll need a hammer, chisel, pry bar, safety goggles, gloves, and a dust mask to protect yourself from flying debris.
Score the Grout:
Using a grout saw or rotary tool with a grout removal attachment, carefully score the grout around the edges of the tiles. This will help loosen the tiles and make them easier to remove.
Cut the Tiles:
Once the grout has been scored, use a hammer and chisel to gently tap the tiles and cut them loose from the surface. Work from the edges towards the centre of each tile, being careful not to damage the underlying substrate.
Remove the Tiles:
Once the tiles have been loosened, use a pry bar to lift them away from the surface. Work slowly and carefully to avoid damaging the surrounding tiles or the underlying substrate.
Clean the Surface:
After removing the tiles, use a scraper or putty knife to remove any remaining adhesive or grout residue from the surface. You may need to use a solvent or adhesive remover to loosen stubborn residue.
Dispose of the Debris:
Dispose of the broken tiles and debris properly, either by bagging them up for disposal or taking them to a local recycling centre.
Prepare for New Tiles:
Once the surface is clean and free of debris, you’re ready to install your new tiles. Make sure the surface is smooth and level before beginning the installation process.
By following these simple steps, you can safely and effectively remove old tiles and prepare your surface for new ones. With a little patience and elbow grease, you can give your space a fresh new look that you’ll love for years to come.
Previous Next

