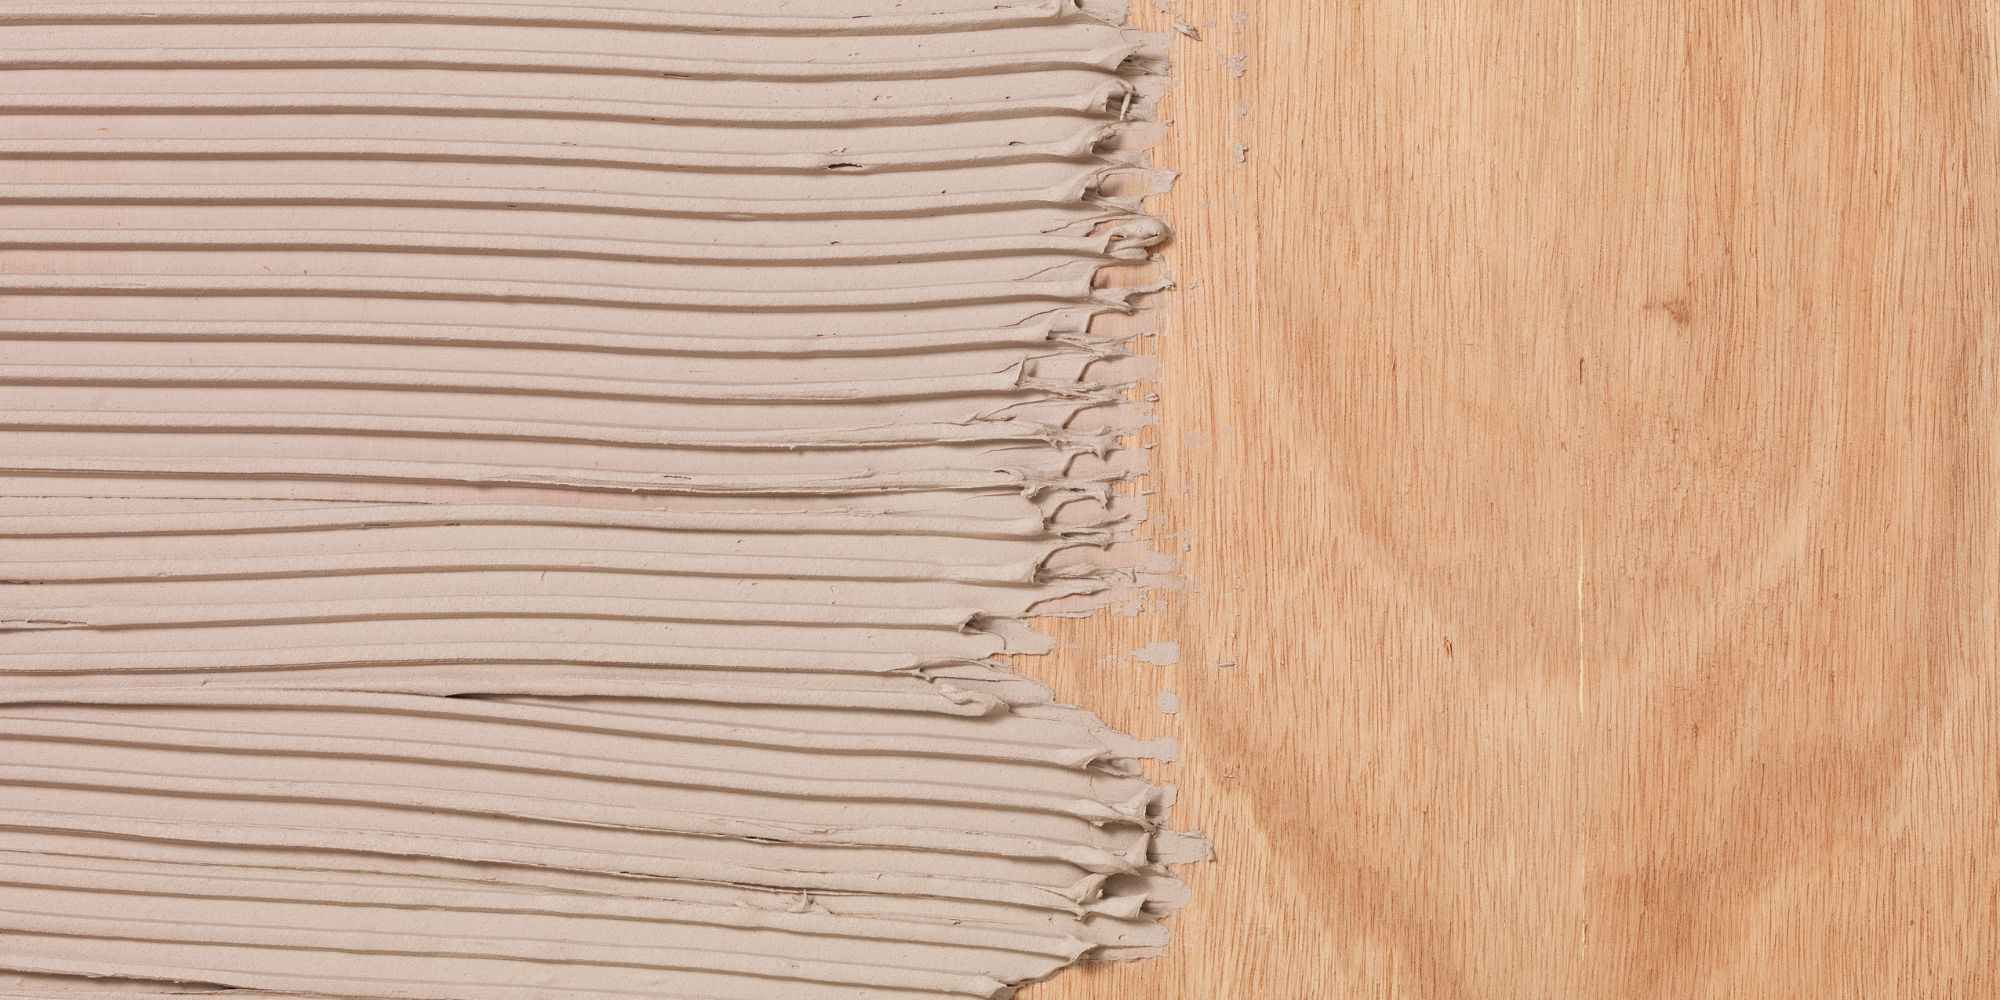
If you have moved house or are undergoing a renovation then you are probably planning to retile. But before you can do that, you first have to remove the old tiles and the old tile adhesive that is firmly stuck to the wall. While this sounds like a task and a half there is no need to worry because in this blog we are sharing our top tips on how to remove tile adhesive from your walls.
Before we get started here’s a list of everything that you will need:
- Protective sheets or old bedding to protect the floor
- Warm water
- A clean cloth
- A scraper
- A wallpaper steamer
- Gloves & face mask to protect you
Removing Tile Adhesive With Warm Water
Step 1.
Lay your protective sheets on your floor to protect it from residue that might fall off the walls.
Step 2.
Take your cloth and dip it in the bowl of warm water.
Step 3.
Use the damp cloth on the adhesive to loosen it making it easier to take it off the wall. You may need to leave the cloth on for a little while and repeat step 2 for it to work.
Step 4.
Once it softens take your scraper and scrape the adhesive off.
Repeat this process until all the old tile adhesive is removed. Then fold up the protective sheets with the residue inside and dispose of them.
If this method doesn’t effective loosen the tile adhesive enough allowing you to remove it try the second method.
Removing Tile Adhesive With A Steamer
Step 1.
Lay your protective sheets on your floor to protect it from residue that might fall off the walls.
Step 2.
Take your wallpaper steamer and move it over the adhesive trying not to hover over one place for too long.
Step 3.
When it softens up take your scraper and scrape the mortar off.
Repeat this process until all the old tile adhesive is removed and remember to take your time. Then clean up the protective sheets and the fallen residue and dispose of them.
Some tile adhesives might require more elbow grease than others but if you’re unsure contact a professional.

