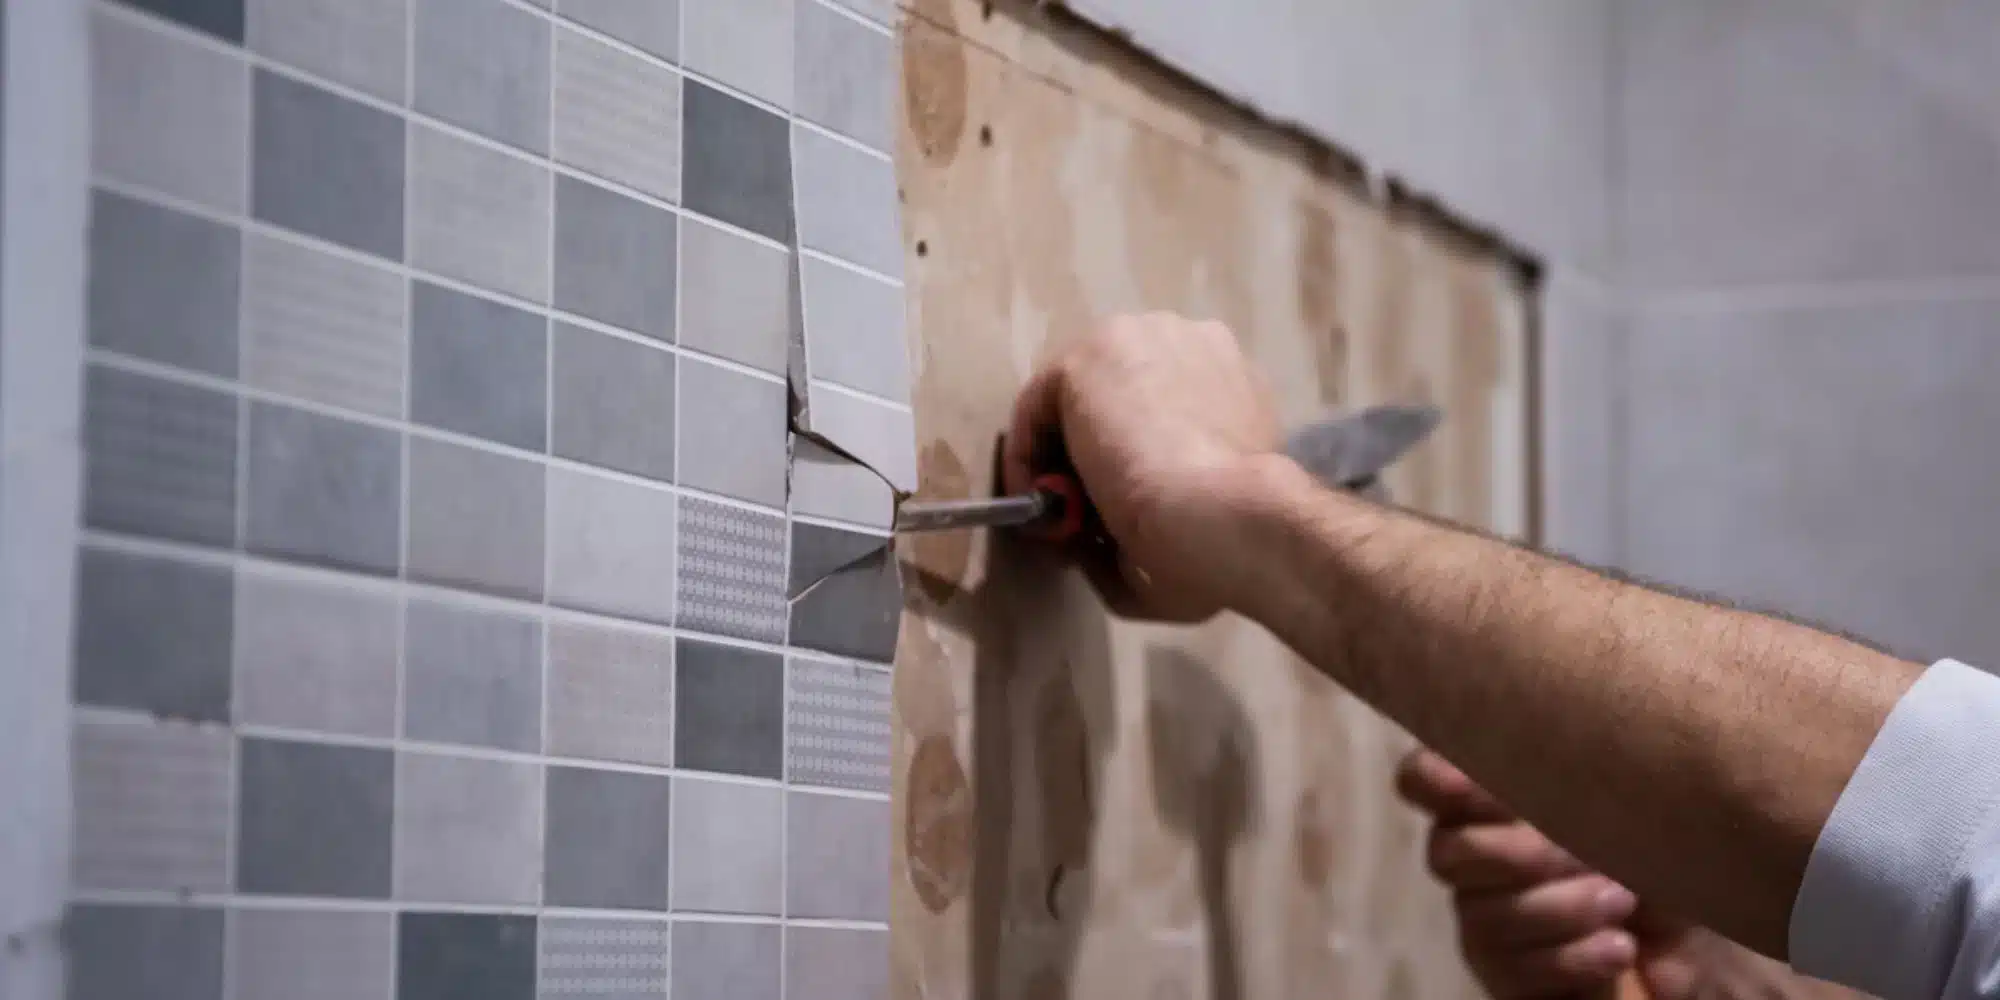
When retiling your floor or walls the task of removing your old tiles is one that most people face with dread. Despite being technically simple it does require a high level of effort and time. Each tile removal job is different depending on how the tiles were originally installed and how long they have been there.
What you will need
- safety googles
- dust mask
- crowbar
- sledge hammer
- floor scraper
- hearing protection
- work gloves
- shovel (flat edge)
- chisel
- a bucket or wheelbarrow
- dustpan and brush
- black bin bags (heavy duty ones)
Before you start clear the space, removing any furniture or items including trimmings and doors that might interrupt with the removal. This will prevent them from getting damaged or dirty. We recommend you covering any large items that can’t be removed such as baths or kitchen worktops to prevent them from getting scratched if sharp tile pieces were to fall. Cardboard and plastic sheets are the best for this but an old sheet will do just as good.
Tile removal can result in a large amount of dust so its worth hanging an old sheet or plastic sheet to stop the spread of dust particles throughout your home. Always wear eye and hearing protection, gloves, a dust mask to protect yourself. When hammering or chiselling dust, tile shards and adhesive can be kicked up causing serious damage. Tile shards can also be razor sharp, so wearing long sleeves throughout is recommend. Tile demolition will also generate a huge amount of waste, so extra strong heavy duty bags or buckets are ideal for gathering it all and keeping it out of the way.
Where to start
Start at the edge of the floor and work your way inwards. Take the sledgehammer and break up the tile along the grouting, being wary and careful of any tile shards.The first tile is always the hardest as you have limited space so its worth hammering a few tiles and feeling for the loosest one to start with to make it easier. If there is no loose one then you will have to work away with the hammer to break one. If you place your chisel in the middle of a tile and hit it with the hammer it should break, allowing you to remove the smaller pieces.
Once the first tile is removed, you’ll have easier access to the surrounding tiles. With this in mind, you’ll be able to put the chisel against the floor, tucked under the tile and tap it with the hammer. Then, pull the chisel towards you, prying the tile from the floor.
When using a sledgehammer be sure to take care, so not to damage the structural frame of the floor. Once you’ve removed some of the tiles with the chisel and hammer then you can get to work with the floor scraper. By putting this underneath the tiles and prying them up, the job will be easier, faster and less messier.
Work your way through the room, removing the tiles and going back to the hammer and chisel if need be to remove the adhesive. You may find that the job is easier than expected if the adhesive is pliable or it may be that it is hard and almost impossible. But we believe in you so don’t up.
If your plan is to retile you’ll want the floor to be as smooth as possible. Once the adhesive is all cleared, you’ll just need to take the dustpan and brush or vacuum cleaner to remove any dust or dirt.
If you decide to undertake the job yourself you are likely to save a fair bit of money since it is a labour intensive job. But if you decide to go with a professional don’t worry we won’t judge. For more information contact a member of our team.
For more tile inspiration visit our Instagram and Pinterest pages. And make sure to tag us in the images of your finished projects @tilesandmosaics

