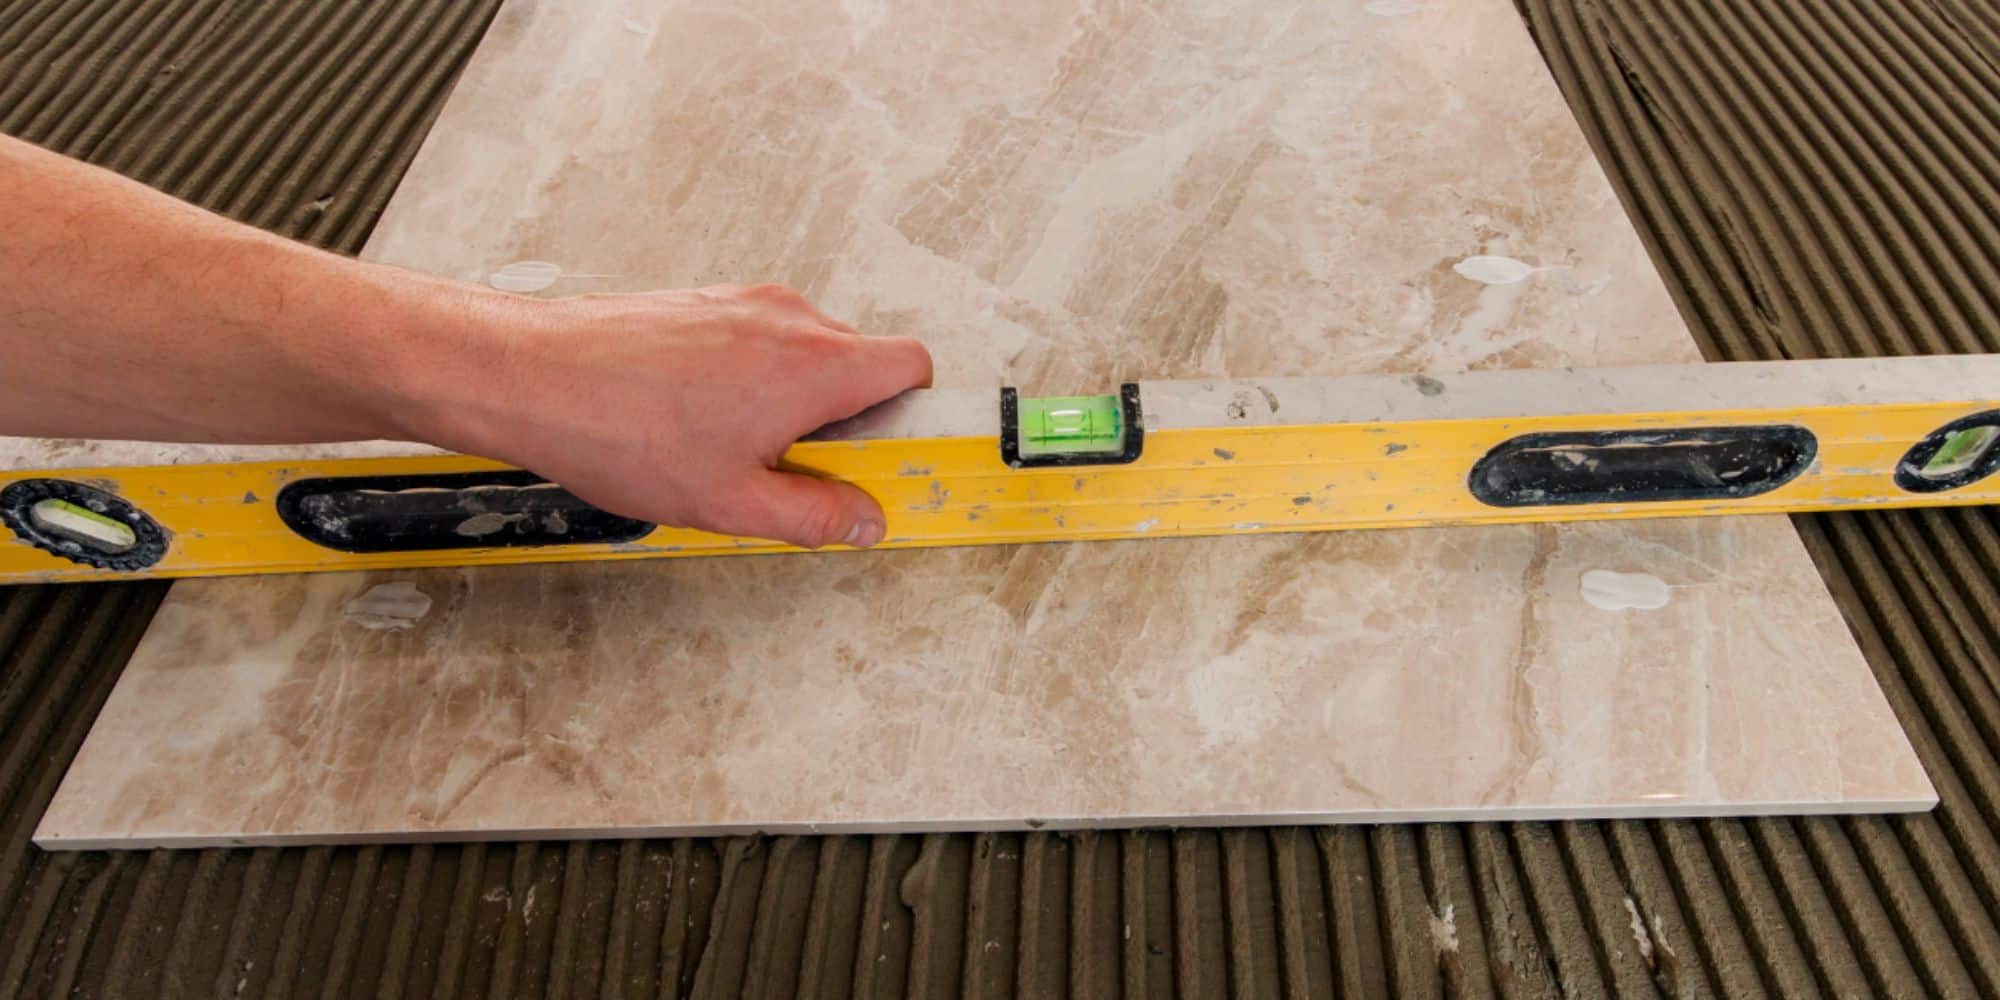
Embarking on a tile installation project for the first time can feel like a daunting task but fear not – with a bit of know-how and preparation, you’ll be well on your way to transforming your space with beautiful, durable tiles. Whether you’re tackling a kitchen backsplash, bathroom floor, or outdoor patio, this beginner’s guide to tile installation will help you navigate the process with confidence.
Gather Your Supplies
Before you begin, make sure you have all the necessary supplies on hand. You’ll need tiles, of course, as well as adhesive or mortar to secure them in place. Additionally, you’ll need grout to fill the gaps between the tiles, as well as tile spacers to ensure even spacing. Other essential tools include a tile cutter or saw for cutting tiles to size, a trowel for spreading adhesive, a grout float for applying grout, and a sponge for cleaning up excess grout.
Prepare the Surface
Proper surface preparation is key to a successful tile installation. Start by ensuring that the surface is clean, dry, and free of any debris or dust. If you’re tiling over an existing surface like concrete or wood, make sure it’s structurally sound and level. If necessary, use a levelling compound to fill in any low spots or uneven areas. For particularly smooth surfaces like glass or metal, you may need to roughen the surface with sandpaper to help the adhesive bond properly.
Plan Your Layout
Before you start applying adhesive, take some time to plan out your tile layout. Use tile spacers to create even gaps between the tiles, and dry-fit the tiles in place to ensure everything lines up correctly. Pay attention to any patterns or designs you want to create, and make sure you have enough tiles to complete the project. Once you’re happy with the layout, you can begin applying adhesive and setting the tiles in place.
Apply Adhesive and Set Tiles
Using a trowel, spread adhesive or mortar evenly onto the surface, working in small sections at a time. Be sure to follow the manufacturer’s instructions for mixing and applying the adhesive. Once the adhesive is applied, carefully press each tile into place, using tile spacers to maintain even spacing between tiles. Work methodically from one corner of the room to the opposite corner, taking care to align the tiles properly as you go.
Finish and Seal
Finally, once the grout has dried completely, usually after 24-48 hours, you can apply a sealant to protect the tiles and grout from stains and moisture. Follow the manufacturer’s instructions for applying the sealant, and be sure to allow it to dry completely before using the tiled area.
While tile installation may seem daunting at first, with the right preparation and technique, it’s a project that anyone can tackle. By following these simple steps, you’ll be well on your way to creating a beautiful, durable tiled surface that will enhance your home for years to come.
Previous Next

